Welcome to adobo-down-under!

Musings. Family. Food. Stories. Cooking. Recipes. Eating. A recipe journal. From simple Filipino dishes to challenging recipes and exciting gastronomical failures. This is for my girls to look back on for comfort, memories, laughs, love and lots of food!

Sunday, June 23, 2013

Deep fried buchi (sesame balls) with purple yam filling


There's a lot of fried foods out there.  And I mean the unconventional types - not the usual foods that one would deep fry at home.  Thanks to the influence of modern fast food cuisines, we've had a lot of deep fried trends pushing through the boundaries of health conscious folks.  There's deep fried hamburgers, deep fried butter, deep fried coke, deep fried ice cream to name a few.


Filipinos have a lot of fried foods.  Sweets included.  There's banana-cue or banana fritters, camote-cue or toffeed sweet potato.  I guess because the frying pan is one of the cheapest and most accessible cooking tool.  For a country like the Philippines, where the availability of ovens in homes is not common, the frying pan is an important cooking gadget - where one can stir, fry and even steam.   And its simple to use - just to pull out a pan, turn on the heat and fry away.  Street food around Manila consists of mostly fried food.  And this is one of those.  Called "buchi" in Tagalog, it is very similar to the Chinese yum cha sweet sesame seed balls.  In the Philippines, these are usually sold stuffed with sweet mung bean paste and sometimes without the filling, called the "karioka".


For this month's Sweet Adventures Blog Hop theme of From the Fying Pan hosted by The Capers of the Kitchen Crusader, I am sharing this Filipino recipe which we love at home.  A simple deep fried sweet dessert or snack treat, consisting of 3 main ingredients: glutinous rice flour, sesame seeds and store bought purple yam jam (ube jam). If you want to take the longer route, you can always make your own sweet red or mung bean paste for the filling.


Glutinous rice flour or sticky rice flour, sesame seeds and purple yam jam can be bought from your local Asian grocer or Filipino shops


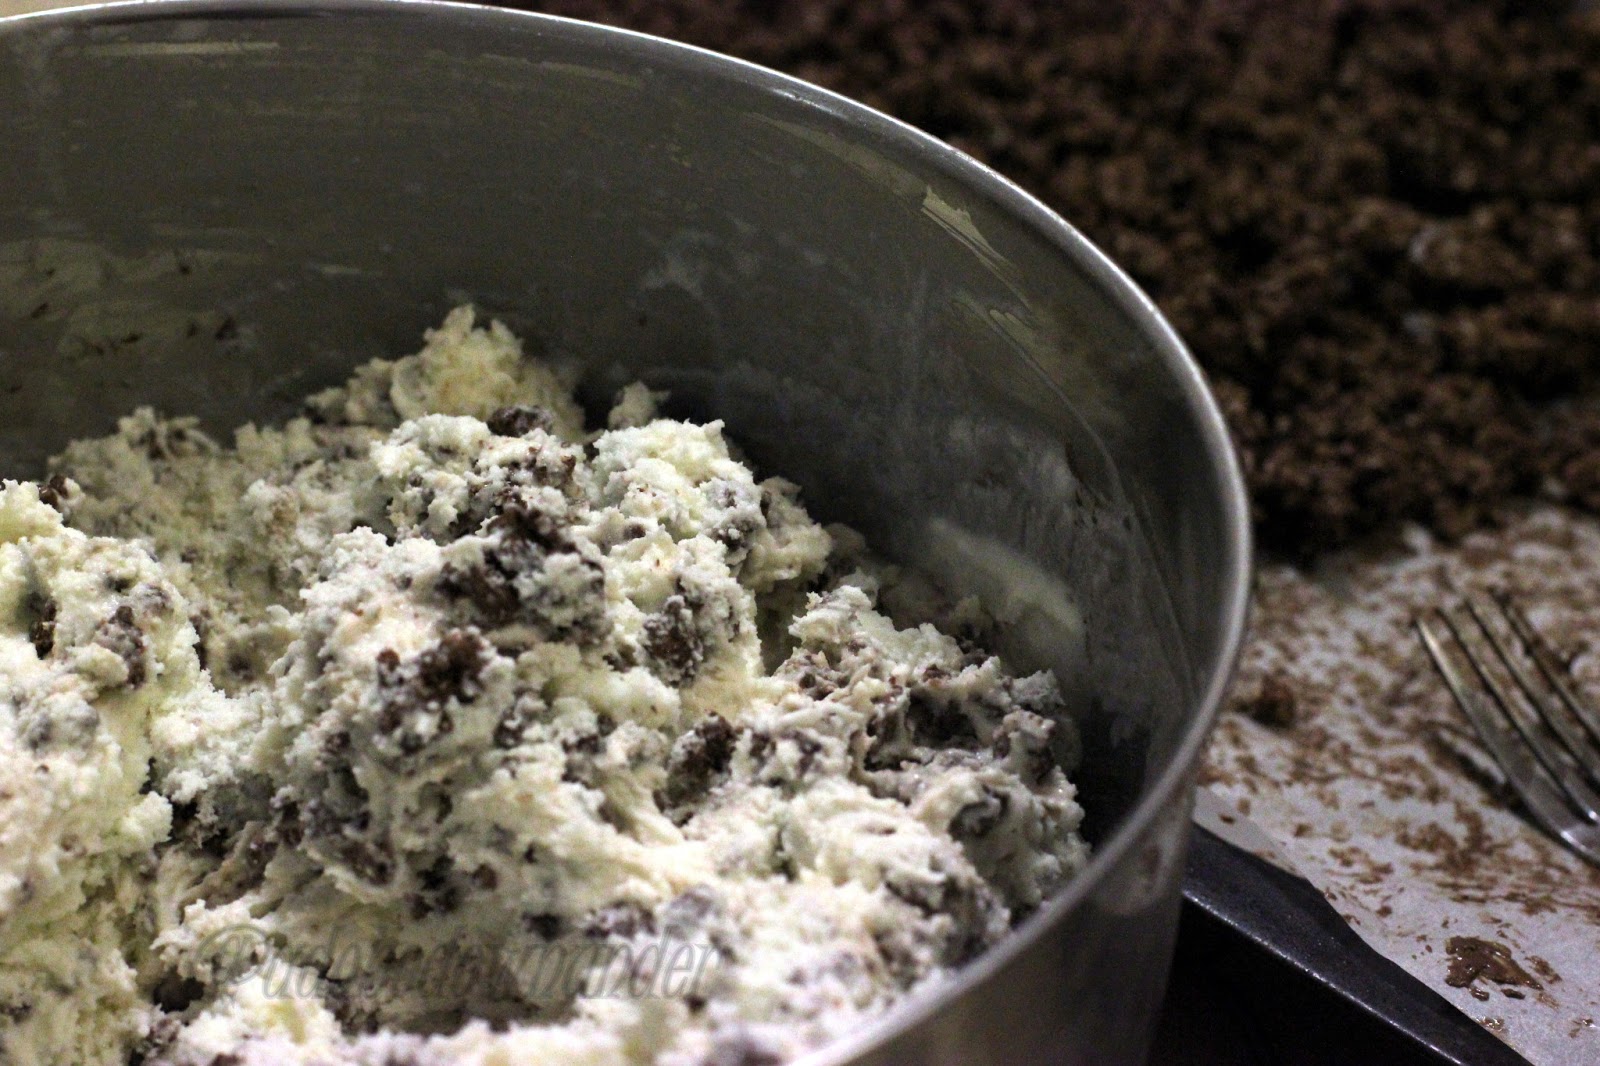
Mix together 3 cups glutinous rice flour, 85 grams caster sugar and 250ml water to make a dough.  The dough should be a little bit moist but not too wet.


To make this deep fried buchi (sesame balls), you will need:

3 cups glutinous rice flour

85 grams caster sugar

250ml water

1 cup purple yam jam (or any preferred filling)

1 cup sesame seeds

250ml vegetable oil or more for frying


Using a large bowl, combine the flour, sugar and water and mix with your hands thoroughly to make a dough.

Place the sesame seeds in a separate small bowl. Set aside. 

Divide the dough into 20 round balls or more if you intend to make smaller treats.

Using a rolling pin, flatten one ball then scoop a teaspoon of your filling into the disc.

Put the edges together and shape it back into round balls with your hands.

Roll the stuffed balls into the sesame seeds.

Repeat for all the dough.  

Prepare a deep skillet and heat with about a cup of vegetable oil.

Once the oil is hot, slowly drop the buchi balls into the hot oil and cook until golden.  

Scoop out with a spider (in picture) or a slotted spoon.

Drain on paper towels.


Tips:

* The thinner you can flatten the dough, the more filling you can put in the buchi balls.

* When cooked, the dough should have a translucent colour and a little bit elastic.  If the cooked dough is still white, it's not yet fully cooked.

* The oil should not be too hot as it will burn the outside but leave the inside dough still uncooked.

* Be careful when deep frying. A deeper pot is advisable, if you don't have a deep fryer.

* You can opt not to fill the buchi balls with anything.  Simply make smaller rounds or flatten them before rolling in sesame seeds then deep fry.

* You can buy sweet red bean paste from Asian shops or you can also make your own homemade paste filling. The Beancounter has a recipe here.


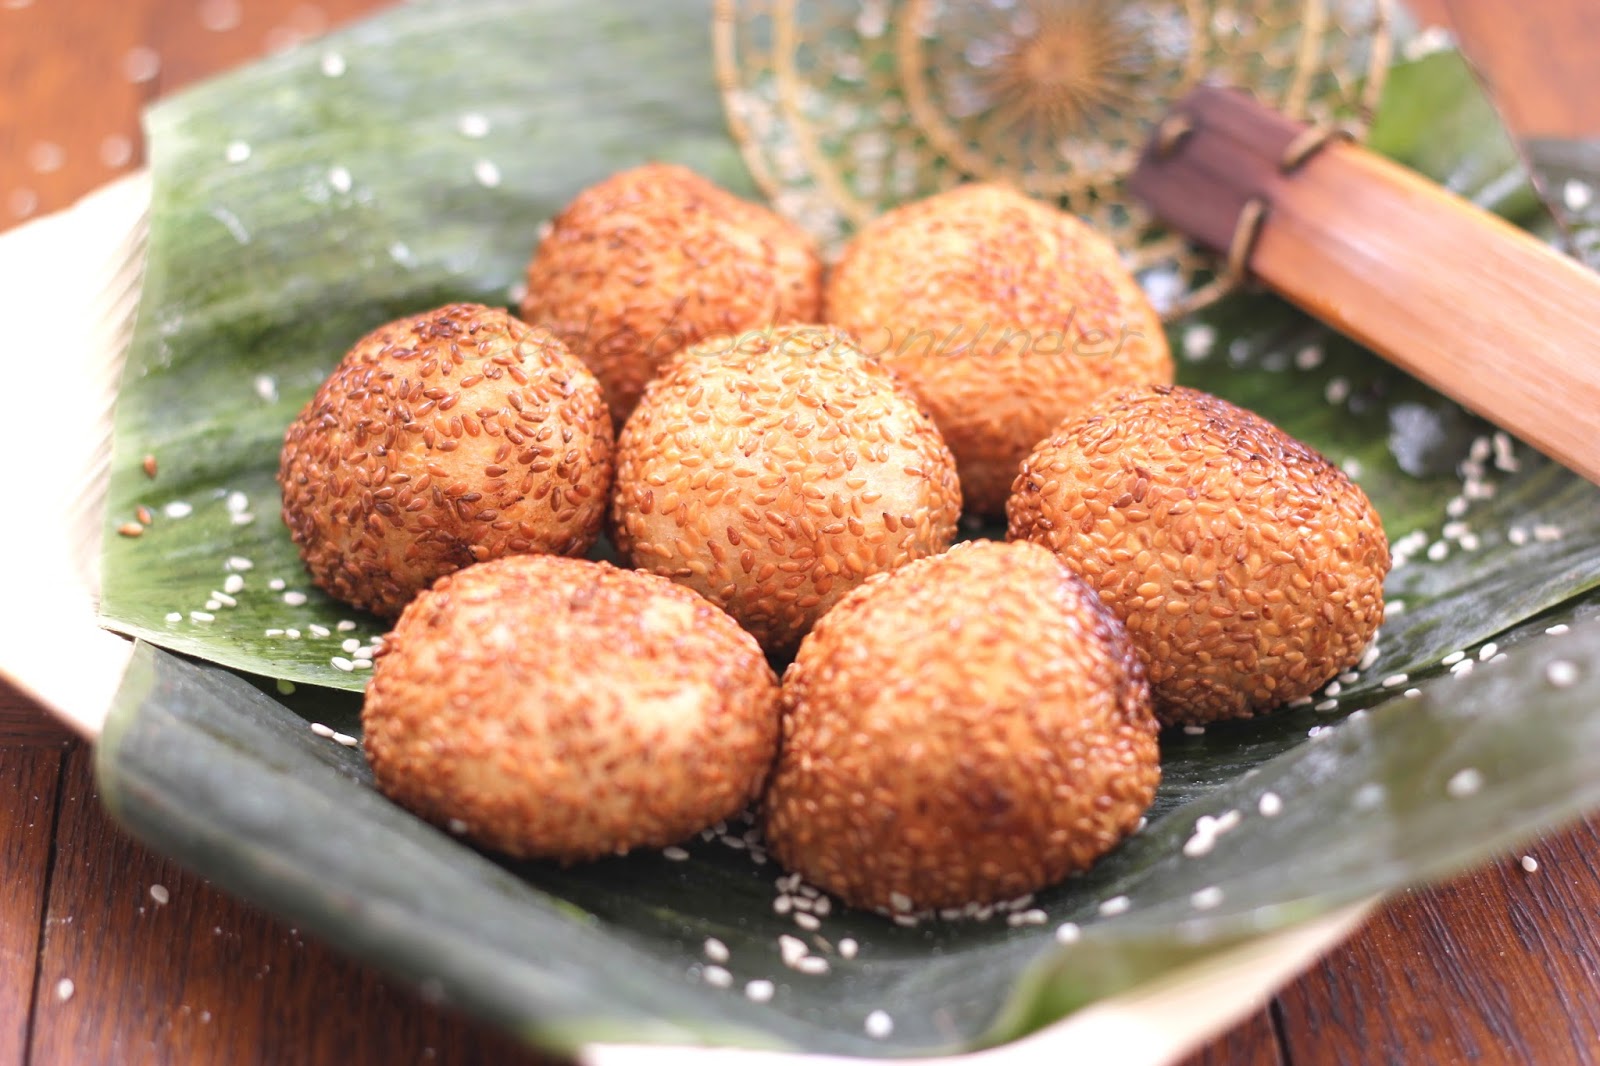
These are the un-stuffed buchi balls which the kids love to eat - no stuffing for them.  Simple and sweet!


Saturday, June 22, 2013

Mango hazelnut torte


It's halfway through to winter in this part of the Southern Hemisphere, and I'm dreaming of tropical places. I miss my home country during this time especially when family and friends have just gone back from their summer outings and post drool-worthy photos online.  Sigh. 


Personally, the only upside of winter is wearing boots, scarfs and jackets.  I just love wearing them.  And since I come from the tropics, winters always leave me cold even with the slightest dip in temperature.  I'd be walking around with the complete package while some people in the shops are simply wearing T-shirts and thongs.  Seriously. It's winter people!  Gear up!  I found this article in the SMH back in May which I support completely.  Dress for the winter cold!


And while some of us can only dream of warm sunny skies and tropical escapes, here's a summer inspiration for those in the Northern Hemisphere who have access to some fresh ripe mangoes at this time.  And if you're really keen, keep this somewhere and make it when its summer at your place.  


This is a mango torte that's famous in the Philippines.  You'd see these at specialty cake shops like Dulcelin Gourmet and  Cuerva Bakeshop among a few. Original mango tortes sold in Manila are made of a cashew-meringue base and topped with buttercream.  I made this version very light using creme chantilly (whipped cream with icing sugar) spread around the base and piped in between the mango balls, instead of a basic buttercream.  The base is a recipe for a classic dacqouise which I made for my version of the sans rival for the Sweet Adventures Blog Hop in March last year, but substituted the almond meal with hazelnut meal.


Whip egg whites to stiffness.  A beautiful sight!


Fold through the 110g ground hazelnut (hazelnut meal)


Pipe two 20cm rounds onto a baking sheet with baking paper.  Left overs are piped into small rounds, for sampling and testing.  Bake at 100*C for 1 hour and 15 minutes.  


Mangoes are scooped with a melon baller.  Sweet!


They look really fancy, schmancy....


To make this hazelnut torte, you'll need:

3-4 fresh mangoes


Using a melon baller, scoop out balls from fresh mangoes and set aside.

Assemble the torte.

Place your dacquoise on a round tray.  Spread some creme chantilly on top, then layer the other round dacquoise and spread some more creme chantilly.

Place the mango balls on the top.

Using a piping bag with star tip, pipe the creme chatilly in between the mango balls and around the torte.

Serve immediately.


Tips:
* If you can make the base as thin as you can, the crispier and crunchier it will be as a base. Make sure to keep the dacqoise in an airtight container when making a day ahead.

* Because this is a meringue-nut base torte, using whipped cream for the topping will moisten the base so it's advisable to assemble the cake a few minutes before serving. Otherwise, susbtitute the topping with your favourite buttercream recipe.

* When making creme chantilly (or whipped cream), make sure your mixing bowl is cold.  Keep it in the fridge for half an hour before you start whipping.  You can add as much icing sugar as you want (I usually just use 25 grams - not too sweet).  You can also opt not to flavour the whipped cream with vanilla.  Its up to you.


PS - I have made this recipe many times during the summer but have only recently been able to clean up photos and files.  Been fighting the monkey mind mode for some time.  Thanks to Chari-G from My Glory Box for the inspiration and pushing me once in awhile from my lazy mode.  xx


Friday, June 14, 2013

Nutella crunch ice cream cake


That moment as a parent, when your kids turn into teenagers is when you try and pull the reigns a little.  An invisible one.  Tighten it up a little bit.  I guess its every bit exciting and daunting to have kids enter that phase.  You know when they start being independent, going out with friends without you.  There's that knot in my stomach everytime my teen is out with friends - at the movies, at the mall, at sleepovers.  There's always that unnecessary paranoia.  It gets animated, so I'm not going to have to tell you the details.  The ups and downs of understanding the hormonal changes in girl teens can be exhausting.  Its like a roller coaster ride.  One moment, high pitched and excited.  Then the next thing you know, there's some drama happening.  But then there are also those cuddles and hugs and kisses just because.  That's when I know she's still my baby.   


My daughter turned 16 recently.  A milestone number.  We hosted a sleepover party for 10 teen girls which can be listed in our "craziest things you've done" list.  Of course I lost some needed sleep that night.  More worried about our next door neighbour's sanity than mine, but we survived.  And here's a revelation. Girls eat as much as the next boy.  A bucket of KFC, mountains of chips and gravy and 2 large pizzas was dinner.  With breakfast, we made sure there's enough eggs and bacon for everyone.  Lunch onwards was a small backyard barbecue with close mates and family and friends.  A simple celebration that of course,  required cake.   She requested ice cream cake.  And this was a Pinterest-find.  And this was perfect - all her favourite things.  Nutella, rice bubbles and vanilla ice cream!  This recipe is adapted from A Family Feast.


Taken with my iPhone.  The photo's a bit blurry.  And the ice cream at melting point!

This is an easy cake to make.  Its got that crunch like a cookies and cream ice cream.  As it is winter in Sydney, the cake held itself up longer (20 minutes taken out of the fridge before slicing).  


To make this easy-peasy yummy ice cream cake:

3 litres vanilla ice cream

2 cups Nutella hazelnut spread

6 cups rice bubbles


Line one or two cookie sheets with baking paper.

In a large non stick skillet and on low heat, melt the Nutella then add the rice bubbles.

Mix thoroughly with a silicone spatula making sure all the rice bubbles are covered in Nutella.  

Spoon the Nutella rice bubbles onto the cookie sheet/s and spread evenly.  

Let it cool for 15 mintues at room temperature, then place in the freezer to chill further.


While the Nutella rice bubbles is cooling, bring your ice cream out from the freezer to thaw.  The ice cream needs to be soft, but not melting.

Prepare a 23 cm spring form cake pan/tin.  Spray the sides a little canola oil and line with baking paper.  This will make it easier to loosen the frozen cake from the tin when serving.

Once the Nutella rice bubbles have hardened (not frozen), use a knife and fork to separate them into small nuggets.

Using a large mixing bowl, place softened ice cream and mix with half of the chilled Nutella crunch. Use a spatula and mix thoroughly so that the Nutella crunch is evenly scattered within the ice cream.


Spoon the ice cream into your prepared pan, pack firmly and smooth the top with a spoon.

Scatter the remaining Nutella crunch on the top of the ice cream cake. Using the back of large spoon or spatula, smooth the crunch on top of the cake.

Freeze for 4-6 hours or overnight.

Take the ice cream from the freezer to thaw 10-15 minutes before serving.  Run a butter knife around the sides of the pan to loosen the cake.  Remove the sides of the pan then remove the baking paper.

Before serving, run the knife through hot water in the tap, then wipe dry with a kitchen towel.  Then slice into portions. 


Aah teenhood. It's always "Wow!" in all manner of emotions.  And we're only up to our oldest.  We still have our three younger ones to go through.   

And now that she's 16, she declares she wants to take her L's.

Someone please pass me some wine.


LinkWithin

Related Posts Plugin for WordPress, Blogger...