Welcome to adobo-down-under!

Musings. Family. Food. Stories. Cooking. Recipes. Eating. A recipe journal. From simple Filipino dishes to challenging recipes and exciting gastronomical failures. This is for my girls to look back on for comfort, memories, laughs, love and lots of food!

Tuesday, January 14, 2014

Empanadas (empanaditas)


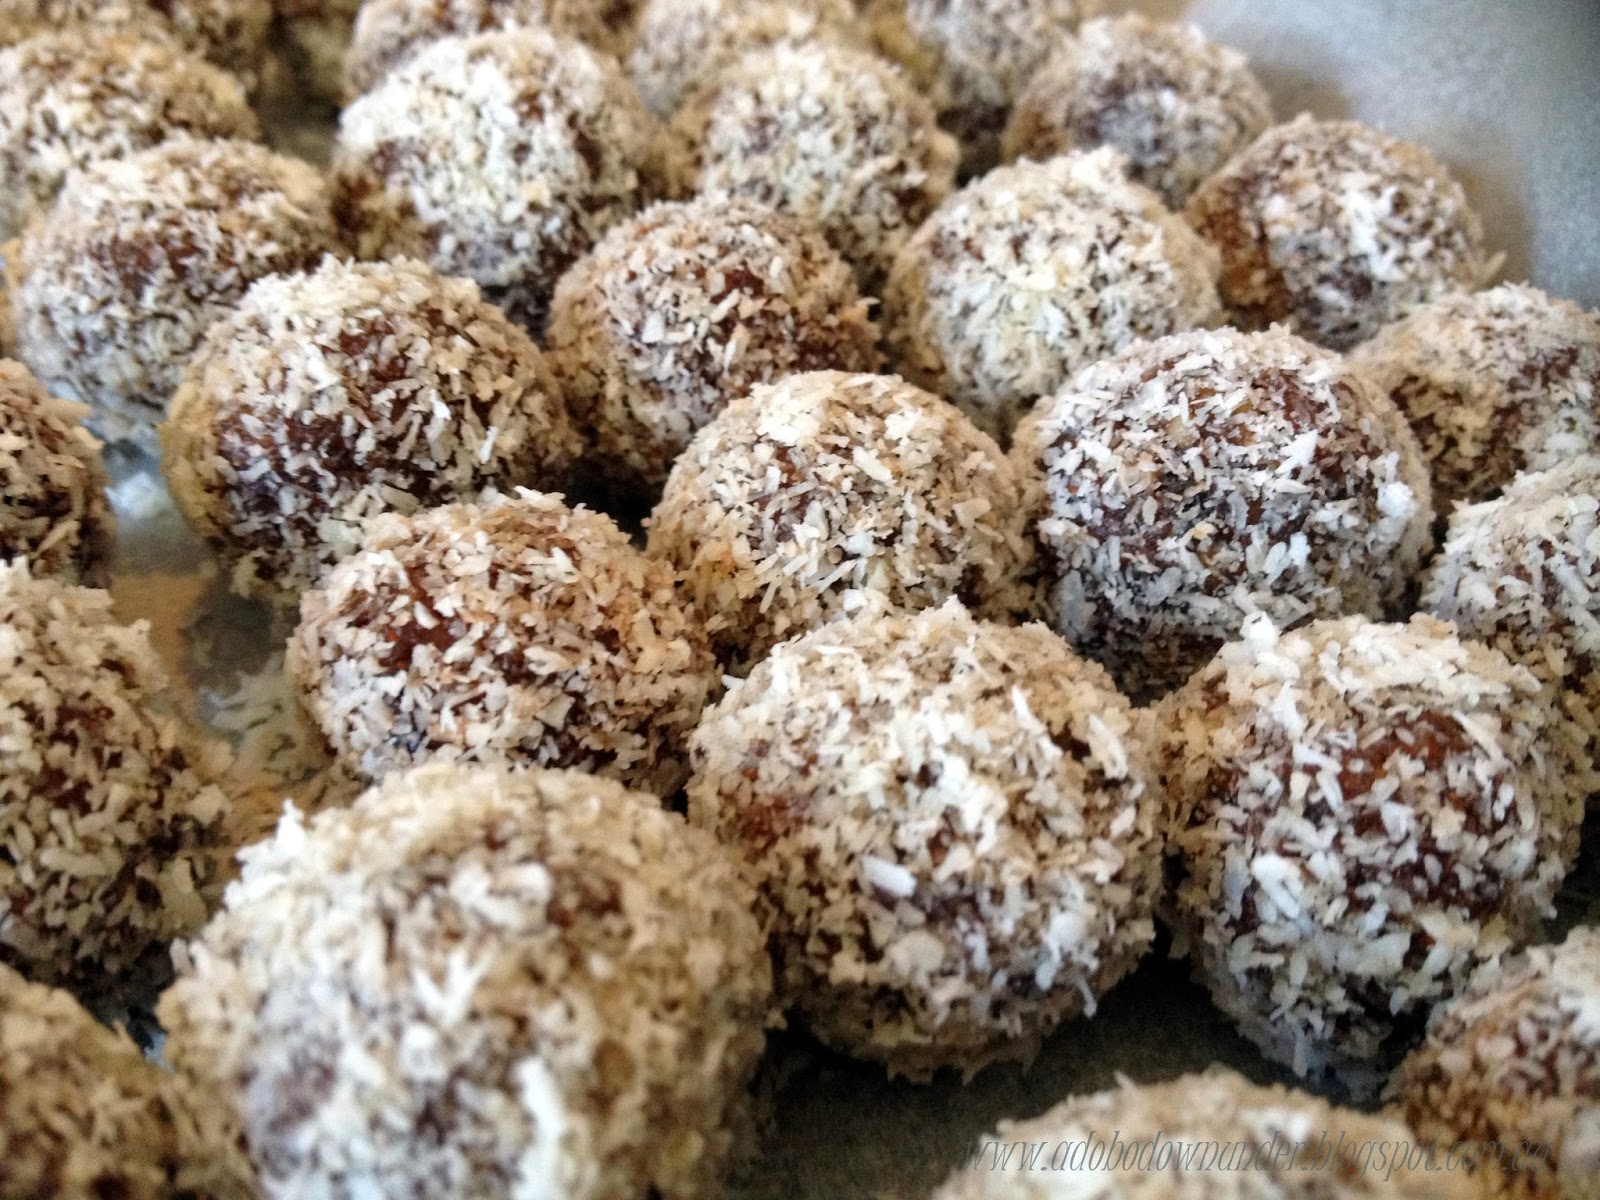
Heirloom recipes.  Do you have those?  Handed and taught down from generation to generation through family members?  


I don’t have an image of me growing up with my grandmother on one side and mother on another, dabbling with ingredients in the kitchen or making  a mess with flour and sprinkles.


Inay, my grandmother (mother side), was not so much a kitchen person.  She’ll concoct some traditional Tagalog / Filipino dishes every now and then, effortlessly.  The few times she’s in the kitchen, she can work magic with simple ingredients – from scratch.  And I mean from a live chicken to a dish on the table.  That type of cooking.  Other than those few magic moments, she’s really a Martha-Stewart-recycling-DIY-kinda-gal.  She’ll make a “walis ting-ting” – broom made of sticks from dried coconut palm leaves.  She’ll idle away the time making floor rags from old fabrics and old t-shirts.  She’ll clean the hell out of old coffee, jam, peanut butter jars and reuse them as drinking glasses and tumblers at home, she’ll be happily tinkering away the afternoon in her sewing machine. At the best of times, she’d be making mean "pinais na tulingan" (slow braised tuna in tamarind or kamias), tinolang manok with malunggay (native chicken tinola with moringa leaves).  Her cooking was always simple with fresh ingredients and as organic as would be called now. 


Now my grandmother on my father's side is the all the time cook.  Although I have never spent time with her side by side in the kitchen (she's lived in the US since we were born with a few visits in the Philippines while growing up),  I have gotten to know her through her cooking.  The few times she's visited us was always a lesson in the kitchen.  And this is her recipe. One of the dishes she can throw all together in a bowl without batting an eyelash, without measurements, and it always comes out perfect.    And whenever they make this at my aunt's home in NJ, everyone pitches in and make these.


Now like all recipes, as long as you have the ingredients on hand it's really up to you to adjust the quantities as it suits your taste.  The flavour, feel and texture is entirely up to you.  I have tweaked my grandmother's recipe for the filling to suit our preferene at home.


There are two elements to this recipe - the filling and the dough/pastry.   


Ingredients and method for the filling:

 500 grams minced pork (or beef or chicken)

 1 large onion, diced

3 cloves garlic, finely diced

1 large potato, diced

2 medium sized carrots, diced

1 red capsicum, diced

1 stick celery, diced

1 cup frozen green peas

2-3 tablespoons soy sauce

salt and pepper, to taste

vegetable oil

2 teaspoon of chilli flakes (optional) 


In a large skillet or wok, pour about two tablespoons of vegetable oil and heat the pan.

Saute the onions and garlic until soft and fragrant.

Add the minced meat and cook stirring until almost brown, 5-10 minutes

Add the potatoes, carrots, capsicum, celery and cook stirring to coat all the ingredients.

Add soy sauce and season with salt and pepper.

Turn the heat to medium and simmer until meat and vegetables are cooked through, 10-15 minutes.

Add the frozen green peas and sprinkel the chilli flakes if using.

Simmer for another5 minutes then turn off heat.

Spoon onto a large bowl and let it cool.  
Make sure the filling is completely cool before making the empanada/empanaditas.


Ingredientes and method for the  dough:

170 grams butter, cold cut into cubes

3 and 1/2 cups plain flour

1/4 cup sugar

1 cup cold water

1 beaten egg + 1 tablespoon of water for the egg wash

2 tablespoon milk or water for sealing

Combine all the  dry ingredients in a bowl and rub the ingredients with your hands until it resembles fine crumbs.  Slowly add the water (a little at a time) and continue to mix with your hands until it forms into a ball.

* Alternatively, you can process the butter, flour and sugar in a processor, then slowly pour the cold water until the mixture forms into a ball.

Flatten the dough slightly and chill in the refrigerator for 10-15 minutes.

Place the dough on a flat surface, and using a rolling pin flatten the dough to abou 1-2 cm thick.  

Cut the dough with a cookie cutter (your desired size - can be bigger or smaller).


Filling the dough:   (see photo below).   

Press on the sides of the dough to slightly thin them out.  Seal one side with milk.

Fill the dough with a tablespoon of the filling.

Slowly pinch the sides to seal the empanada.

Place on the flat surface and using your thumb/finger, press the sides of the empanada.

Further seal the edges with a fork.  Place all finished empanadas on a lined baking tray.

Continue with the other dough/filling.  


Baking the empanadas/empanaditas
Before baking, preheat oven to 180*C.

Brush the empanadas/empanaditas with egg wash.

Bake in the oven until golden, 30-40 minutes. 


Tips and tricks

* The butter needs to be cold when making the dough, not softened or melting;

* When making the filling, you can add other ingredients to suit your preference.  You can make it entirely vegetarian too.

* Alternatively, you can also deep fry the empanadas until golden, then drain on paper towels.

* Create small air pockets on the empanadas prior to baking so they don't inflat too much leaving a space between the dough and the filling.  I usually use a small knife or a fork to do this.

* This dough which my grandmother uses does not have the flaky texture when baked.  If you prefer a flaky dough, you will need to roll until thin, fold, then roll, and fold and roll.  The layers from rolling and folding several times creates the layers which results in a flaky dough.

* Some empanada recipes calls for lard and butter combined, which also helps in creating a flaky texture when baked.  Trissalicious shares in her blog a secret for a flaky empanada. 

* Store-bought puff pastry can also be used to make these empanadas.

* They are called empanadas when they are bigger, like the palm of one's hands.  This recipe for empanaditas are bite-sized and a little fiddly to make (photos show scale).  You can always adjust the size to suit your preference.


From Inay Mercedes and lola/grandmother Antonia, this is my heirloom - memories of good old fashion, no-nonsence cooking.  No fancy antique jewelries here, or grand estates. 


And this family recipe, I'll recreate a tradition at home when making this - as these are bite-sized pieces, I'll gather the girls around the table, pinch away dough and seams and filling and sharing stories and creating new memories.
 

Thursday, January 02, 2014

Protein truffles (protein balls)


coated in dessicated coconut


Wow!  How quick was that?!  2013 all done and dusted!  What a year it was!  Had a few bumps and bruises along the way but worth all the lessons learned.


Mid last year, I stopped eating sugar.  Not entirely quitting sugar, but not eating processed sugar. Nothing in my coffee, no cakes, cupcakes...  that kind of thing.  Hard to believe with all the baking I do, but indeed I did.  And I've been off it since.  Ocassionally, I'll nibble on some dark chocolate but that's about it.  It was a decision made entirely out of gut feel and a combination of all sorts of information gathered what I've read mostly.  No scientific or research study conducted.  Just a straight up decision to do so.  Late last year, I also got hooked into kale and making my nutriblasts, thanks to my trusty Nutribullet - a worthy purchase from home TV shopping (don't judge me!).


How can I bake so much sweets and not eat sugar?  Well, when I'm baking sweets, my kids and some very eager taste testers are more than happy to taste them for me - hubby, family, friends.


Anyways. Now this quitting sugar and drinking nutriblasts somehow sparked a good trend in the office.  And an office mate shared this recipe which he got from a local magazine/paper (he was not sure which one, so apologies to the source).  They're healthy balls of deliciousness, and if you're in to the "raw" bandwagon, you will love this one!


And to start the this awesomeness of a year rolling, here's a recipe for protein truffles which were supposed to be an SABH post but did not make it to deadline.  You know how busy December can be.  I made this to give away as Christmas homemade treats, and receivers loved them!  I'm sure you will too!  


coated in cocoa powder


Ingredients


100g walnuts, roughly chopped

100g natural almonds, roughly chopped

2 tablespoons pepitas

170g pitted dates

100g dried apricots

100g pitted prunes

1 tablespoon peanut butter

2 tablespoons cocoa powder

1 tablespoon cinnamon powder

2 tablespoons honey

Pinch of sea salt

100g dessicated coconut, for coating; or

100g cocoa powder, for coating; or

100g melted dark 70% chocolate for coating.


Method

Combine walnuts, almonds and seeds in a food processor and process until you get fine crumbs.

Add the dates, apricots and prunes and process until smooth.

Add the peanut butter, cocoa powder, cinnamon, honey and sea salt and process until the mixture starts to form into a ball.  

Place the protein ball of dough in a bowl and keep in the fridge to chill for half an hour to an hour, to keep it firm.

Prepare three separate bowls for your coating.

Using a teaspoon, scoop a spoon full and then roll in between lightly wet hands.

Roll into any of the chosen coatings (dessicated coconut, cocoa powder or melted dark chocolated).

Keep in an airtight container in the fridge for up to two weeks.

Yield: will depend on how big or small you want the protein balls/truffles to be.


coated in dark chocolate


Now that it's a new year, time to make some resolutions!  Make sure you add these to your regular plan.  It's healthy and delicious, for real!

 
A happy and awesome 2014 to all!  May this year bring you more blessings, peace, wellness and happiness within.


Tuesday, December 17, 2013

Red velvet cupcakes


December is a busy and expensive month for us.  We have a birthday, an anniversary and then Christmas.  The gift giving can get really overwhelming if we don't stop ourselves from the purchases.  In past posts, I always mention that Christmas shopping for me, has gone from overly organised (back in my single days), to last minute shopper.  Before, I would have gifts for everyone months before December and all I need to do in the last few days leading up to Christmas will be to wrap them. These days, hubby (as he is constantly online), he purchases most of the girls' presents ahead.  He's good like that.  He's reliable that way and I am so grateful.  Really. A few days ago, I just started wrapping them.  And I'm really impressed. Now all that's left now is to get Santa's presents.


Now that part, he leaves to me.  I try to be really sneaky and at the same time realistic every year.  But just last year, lists to Santa has extended into the technology realm - you know, the latest iPod or some other overly expansive gadget.  The girls were really cheeky.  "If mum or dad won't buy us, they maybe Santa can get this for us?"    Well, for the younger girls at least.


I don't know about you, but I'm the more conventional mom when it comes to toys.  I mostly get board games instead of apps, crossword and word search puzzles and books instead of the latest Wii game.  Last year, just to get into the apps world, I got them the Draw Something board game.  Yeah.  I'm not saying I don't play game apps or have the latest from iTunes, but I still do believe in the basic of playing - interaction (face-face) and having a good time.  

 
The younger girls at 10 years old are sort of in between that age when magic is becoming reality.  Their friends at school don't believe in Santa and of course, they get into that stage where what is said in the classroom or in the playground, just might have some truth vs what mum/dad said.   As much as possible, I'd still like to play that game while they're still young. I think believing in the idea of Santa creates a sense of wonder and awe each Christmas morning, and I love watching their reaction.  The open-mouth-surprise and smiles are priceless.  That's the part I love.  So don't judge me!


This year, Santa's elves at the North Pole still don't make Apple products so that's out of the list for now.  But some creative stencil stamps, new board games and a magic juggling ball might just under the tree next week.


Now Christmas is my favourite time of the year.  In Australia, when it's the middle of the summer makes me love it even more.  Summer fruits, beautiful colours all round, days at the beach, endless blue skies, warm breeze, Christmas decorations, Carols, and just the deep sense and feeling of delight in sharing and giving. 

Each year since two years ago, I started making homemade food gifts to friends, work colleagues, teachers and neighbours.  I love the idea of getting busy weeks ahead planning what it will be, shopping for ingredients and making them in layers (a day at at a time).  And these red velvet cupcakes are always a hit with anyone who receives them.  Why not?  They're red and so Christmassy!  Don't you think so?


This recipe is adapted from the Joy of Baking.  I have made them so many times and have varied the brands of ingredients with the same result.  I have doubled Stephanie's recipe to make 24+ half-cup sized cupcakes.

Ingredients for cupcakes

2 and 1/2 cup (250 grams) sifted plain flour

1/2 teaspoon baking powder

1/2 teaspoon salt

2 tablespoons cocoa powder

1/2 cup (120 grams) unsalted butter, softened

1 and 1/2 cups (300 grams) caster (white granulated) sugar

2 large eggs (about 60-65g each)

1 teaspoon vanilla extract

1 cup (250 ml) buttermilk*

2 tablespoons liquid red food colouring

1 teaspoon bi-carbonate of soda (baking soda)

1 teaspoon white vinegar


Method
 
Preheat the oven to 175*C.

Line two 12-half cup capacity cupcake tins with cupcake liners.

In a large bowl, sift together flour, baking powder, salt and cocoa powder.  Set aside.

In a measuring jug, mix buttermilk and food colouring until incorporated. Set aside.

In the bowl of your stand mixer, cream together the butter and sugar until light and fluffy.

Add the eggs one at a time, beating after each addition.

Continue beating and add the vanilla extract.

While the mixer is on low, add about 1/3 of the flour mixture, then the buttermilk mixture into the bowl. Add the flour and buttermilk alternating in three batches and mix until the batter is consistent and there are not more flour lumps.  Scrape down the sides of the bowl when necessary. Put the mixer on stop/pause.

In a small cup, combine the bi-carbonate soda and vinegar.  Allow the mixture to bubble.

Turn the mixer back on to low and quickly add the bi-carb soda-vinegar mixture and continue to mix for 10 seconds.

Scoop a tablespoon in each cupcake hole or at least a third full.

Bake in the preheated oven for 20-25 minutes, or until a skewere inserted into the cupcake comes out clean.

Place on cooling racks and leave to cool.


Make the Cream Cheese Frosting

1 box (250 gram) cream cheese, softened

125 grams salted butter

1 teaspoon vanilla extract

1/2 cup (50 grams) pure icing (confectioner's) sugar


In the bowl of a stand mixer, beat the cream cheese and butter until light, fluffy and soft.

Add the icing sugar a tablespoon at a time and continue mixing.

Add the vanilla extra and mix until incorporate.

Using a spatula, spoon and spread on top of cupcakes or spoon into a piping bag with a star tip and pipe onto cupcakes.


 Tips and tricks:

* To soften butter, take it out of the fridge to thaw for at least an hour or more (depending on the weather and season);

* Softened butter means its pliable.  When you pinch the butter, it creates a small dent.  Softened butter does not mean soft to the point of melting.  

* When preparing your butter and cream cheese, it helps in the mixing/creaming when you cut them into cubes. 

* As soon as you add the vinegar-baking soda, I always count 10 seconds to the dot then turn off the mixer and just fold the batter gently with a spatula.

* Don't overfill your cupcake tins.  If necessary, which is the case with me, I usually prepare another cupcake tin with liners for the excess.  

* When creaming the frosting, make sure all ingredients are at room temperature. When one ingredient is even slightly cooler, it can cost the frosting to look curdled - meaning the butter becomes solid again. 

* For buttermilk substitute, you can make your own sour milk which is 1 cup milk with 1 tablespoon lemon or white vinegar.  Let the mixture sit for 5 minutes until the milk has curdled or thickened.  I

* Plain natural yogurt can also be a substitute for buttermilk.  With the same amount in the ingredients, prepare  your yoghurt by mixing it with a teaspoon to take out the lumps. (Joy the Baker has some variations on the buttermilk substitution you might want to try.)


And so it's only 8 days till Christmas!  Are you ready yet? 

Is everyone's gift ticked on the list? 

Have you planned your Christmas menu?

And.... do you play the Santa role too?


LinkWithin

Related Posts Plugin for WordPress, Blogger...