Welcome to adobo-down-under!

Musings. Family. Food. Stories. Cooking. Recipes. Eating. A recipe journal. From simple Filipino dishes to challenging recipes and exciting gastronomical failures. This is for my girls to look back on for comfort, memories, laughs, love and lots of food!
Showing posts with label party. Show all posts

Friday, August 28, 2015

Lemon and sour cream cake with raspberries


I found a new hobby.  Colouring books!  If you haven’t already noticed, adult colouring books is the trend at the moment and publishing companies are selling them by the millions.  Marketed as therapeutic and anti-stress, colouring books for adults have become hip thanks to social media.  People who are into colouring books posts their creations on social media and it just creates the pull which is making the publishers very happy.


A standard page would take me from an hour to 3 hours, glued to the page instead of watching some TV series on Netflix or browsing on Facebook and Instagram.  While it may be my own form of digital detox, it does deliver its own spell of mindfulness and calmness claims.  Indulging in a new hobby, engrossed with colour pencils sliding across the page, sticking to the lines, mix matching colours onto patterns somehow gives me a sense of fulfillment as I create something visual and beautiful.  I started borrowing colour pencils from the girls, but now that I have my own set, I can colour to my heart’s content.


Although this does not replace my love for cooking, baking and writing, it does give me something to do while waiting for dinner to cook, or the cake to be warm and the cookies to cool.


How about you?  Have you started a new hobby lately?


Now to this cake that is a revisit from the archives.  A lemon yoghurt cake dressed with raspberries.  This is my go to cake recipe when I'm asked to bring a cake.  Why?  Because it's easy as A-B-C, 1-2-3.  No need for a mixer.  Just good ol' fork and little bit of elbow grease.


Ingredients

1 and 3/4 cups sugar

2 eggs

1/2 teaspoon salt

2-3 teaspoon lemon juice

grated rind of 2 lemons

3/4 cup light olive oil

1 cup sour cream

2 cups self-raising flour

1 cup (or more) fresh or frozen raspberries

Icing sugar for dusting (optional)


Method

Preheat oven to 180*C.  Line a round 20cm cake tin with baking paper.

In a mixing bowl, mix rind, oil, eggs and sugar with a fork.

Add remaining ingredients and combine well.

Add the raspberries and stir to distribute around the pan and some to sprinkle on top of the batter.
Pour into cake pans and bake at 180 degrees C for 30 minutes.

Leave to cool on a cooling rack, then turn out onto a plate.  

Dust with icing sugar (if using).


* You can use natural yoghurt or buttermilk as substitute for sour cream and the result will be the same.


Tuesday, September 30, 2014

Baked maple pears with toasted pistachios


No more whingeing around here of being too cold.  We have been blessed with warm air and clear blue skies.  And so I am catching up on some needed writing and blogging as it is the end of September, and we are halfway through to spring.  Spring cleaning at home and the backlog of recipes and photos to post.  

We have revamped our veggie garden as the seedlings planted in winter did not survive and to take the easier route, we bought some ready-to-plant veggies from the local nursery.  Hopefully, there will be some harvest of French beans, eggplants, strawberries, Habanero and birds eye chillies soon.  Our calamansi plant is finally showing some fruits after last year's drought.  This makes me very happy as any Filo would be.


And now catching up on some blog posts, this recipe is the easiest dessert there is that you can bring to any potluck party.  The idea to make this was initially to make it for a vegan at work who was retiring.  And I also brought this to a work birthday lunch and ever since, people have asked for the recipe and they have made it at home with spectacular results.   It's really easy.  I love easy dishes.  Those that you prep and then you just wait for the magic to happen.  Be it a slow braised on the stove, or a baked maple pear in the oven.  You prep it and you wait for an hour.


The recipe is adapted from an old cookbook from my shelves - Marie Clare Fresh + Fast Simply Delicious Healthy Food


To make these baked maple pears

Ingredients:

7 Corella pears, halved and cored*

3 tablespoons real maple syrup

2 tablespoons extra virgin olive oil*

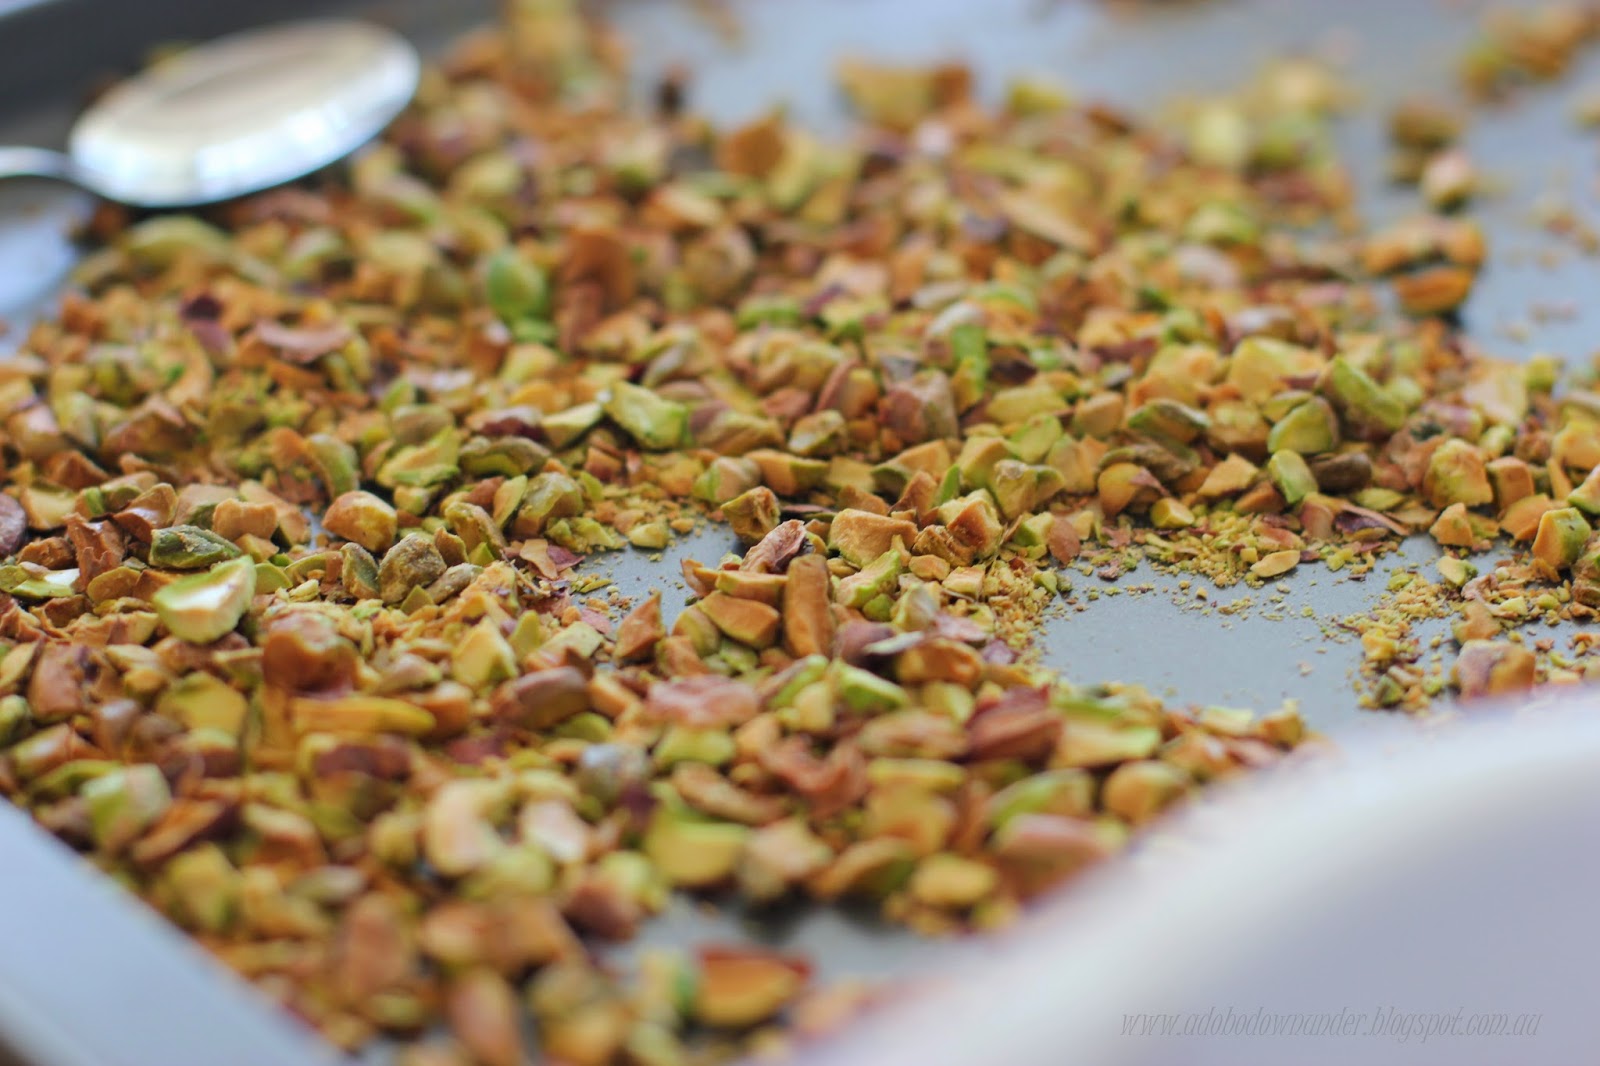
1 cup toasted pistachios, roughly chopped

1 cup creme fraiche or whipped cream


Method

Preheat oven to 180*C

Cut a thin slice from the skin side of the pears to give them a flat surface.

Place the pears onto a shallow baking dish, skin side down.

Drizzle olive oil and the maple syrup onto the pears.

Cover with aluminum foil and bake in the oven for 1 hour.

The pears should be tender when a butter knife inserted comes out smoothly.

Serve with the creme fraiche or thickened cream on the side, and the toasted pistachios.


Tips and tricks:

* The original recipe called for unsalted butter to rub on the pears.  I used olive oil as I brought it for someone who is vegan.

* You can use other pear varieties. Corella pears tend to be tougher than most so it cooks for an hour.  Other pear varieties are tender and may be baked for less than an hour.

* You can make as many or as little as you like, just adjust the maple syrup to your requirements.


Tuesday, December 17, 2013

Red velvet cupcakes


December is a busy and expensive month for us.  We have a birthday, an anniversary and then Christmas.  The gift giving can get really overwhelming if we don't stop ourselves from the purchases.  In past posts, I always mention that Christmas shopping for me, has gone from overly organised (back in my single days), to last minute shopper.  Before, I would have gifts for everyone months before December and all I need to do in the last few days leading up to Christmas will be to wrap them. These days, hubby (as he is constantly online), he purchases most of the girls' presents ahead.  He's good like that.  He's reliable that way and I am so grateful.  Really. A few days ago, I just started wrapping them.  And I'm really impressed. Now all that's left now is to get Santa's presents.


Now that part, he leaves to me.  I try to be really sneaky and at the same time realistic every year.  But just last year, lists to Santa has extended into the technology realm - you know, the latest iPod or some other overly expansive gadget.  The girls were really cheeky.  "If mum or dad won't buy us, they maybe Santa can get this for us?"    Well, for the younger girls at least.


I don't know about you, but I'm the more conventional mom when it comes to toys.  I mostly get board games instead of apps, crossword and word search puzzles and books instead of the latest Wii game.  Last year, just to get into the apps world, I got them the Draw Something board game.  Yeah.  I'm not saying I don't play game apps or have the latest from iTunes, but I still do believe in the basic of playing - interaction (face-face) and having a good time.  

 
The younger girls at 10 years old are sort of in between that age when magic is becoming reality.  Their friends at school don't believe in Santa and of course, they get into that stage where what is said in the classroom or in the playground, just might have some truth vs what mum/dad said.   As much as possible, I'd still like to play that game while they're still young. I think believing in the idea of Santa creates a sense of wonder and awe each Christmas morning, and I love watching their reaction.  The open-mouth-surprise and smiles are priceless.  That's the part I love.  So don't judge me!


This year, Santa's elves at the North Pole still don't make Apple products so that's out of the list for now.  But some creative stencil stamps, new board games and a magic juggling ball might just under the tree next week.


Now Christmas is my favourite time of the year.  In Australia, when it's the middle of the summer makes me love it even more.  Summer fruits, beautiful colours all round, days at the beach, endless blue skies, warm breeze, Christmas decorations, Carols, and just the deep sense and feeling of delight in sharing and giving. 

Each year since two years ago, I started making homemade food gifts to friends, work colleagues, teachers and neighbours.  I love the idea of getting busy weeks ahead planning what it will be, shopping for ingredients and making them in layers (a day at at a time).  And these red velvet cupcakes are always a hit with anyone who receives them.  Why not?  They're red and so Christmassy!  Don't you think so?


This recipe is adapted from the Joy of Baking.  I have made them so many times and have varied the brands of ingredients with the same result.  I have doubled Stephanie's recipe to make 24+ half-cup sized cupcakes.

Ingredients for cupcakes

2 and 1/2 cup (250 grams) sifted plain flour

1/2 teaspoon baking powder

1/2 teaspoon salt

2 tablespoons cocoa powder

1/2 cup (120 grams) unsalted butter, softened

1 and 1/2 cups (300 grams) caster (white granulated) sugar

2 large eggs (about 60-65g each)

1 teaspoon vanilla extract

1 cup (250 ml) buttermilk*

2 tablespoons liquid red food colouring

1 teaspoon bi-carbonate of soda (baking soda)

1 teaspoon white vinegar


Method
 
Preheat the oven to 175*C.

Line two 12-half cup capacity cupcake tins with cupcake liners.

In a large bowl, sift together flour, baking powder, salt and cocoa powder.  Set aside.

In a measuring jug, mix buttermilk and food colouring until incorporated. Set aside.

In the bowl of your stand mixer, cream together the butter and sugar until light and fluffy.

Add the eggs one at a time, beating after each addition.

Continue beating and add the vanilla extract.

While the mixer is on low, add about 1/3 of the flour mixture, then the buttermilk mixture into the bowl. Add the flour and buttermilk alternating in three batches and mix until the batter is consistent and there are not more flour lumps.  Scrape down the sides of the bowl when necessary. Put the mixer on stop/pause.

In a small cup, combine the bi-carbonate soda and vinegar.  Allow the mixture to bubble.

Turn the mixer back on to low and quickly add the bi-carb soda-vinegar mixture and continue to mix for 10 seconds.

Scoop a tablespoon in each cupcake hole or at least a third full.

Bake in the preheated oven for 20-25 minutes, or until a skewere inserted into the cupcake comes out clean.

Place on cooling racks and leave to cool.


Make the Cream Cheese Frosting

1 box (250 gram) cream cheese, softened

125 grams salted butter

1 teaspoon vanilla extract

1/2 cup (50 grams) pure icing (confectioner's) sugar


In the bowl of a stand mixer, beat the cream cheese and butter until light, fluffy and soft.

Add the icing sugar a tablespoon at a time and continue mixing.

Add the vanilla extra and mix until incorporate.

Using a spatula, spoon and spread on top of cupcakes or spoon into a piping bag with a star tip and pipe onto cupcakes.


 Tips and tricks:

* To soften butter, take it out of the fridge to thaw for at least an hour or more (depending on the weather and season);

* Softened butter means its pliable.  When you pinch the butter, it creates a small dent.  Softened butter does not mean soft to the point of melting.  

* When preparing your butter and cream cheese, it helps in the mixing/creaming when you cut them into cubes. 

* As soon as you add the vinegar-baking soda, I always count 10 seconds to the dot then turn off the mixer and just fold the batter gently with a spatula.

* Don't overfill your cupcake tins.  If necessary, which is the case with me, I usually prepare another cupcake tin with liners for the excess.  

* When creaming the frosting, make sure all ingredients are at room temperature. When one ingredient is even slightly cooler, it can cost the frosting to look curdled - meaning the butter becomes solid again. 

* For buttermilk substitute, you can make your own sour milk which is 1 cup milk with 1 tablespoon lemon or white vinegar.  Let the mixture sit for 5 minutes until the milk has curdled or thickened.  I

* Plain natural yogurt can also be a substitute for buttermilk.  With the same amount in the ingredients, prepare  your yoghurt by mixing it with a teaspoon to take out the lumps. (Joy the Baker has some variations on the buttermilk substitution you might want to try.)


And so it's only 8 days till Christmas!  Are you ready yet? 

Is everyone's gift ticked on the list? 

Have you planned your Christmas menu?

And.... do you play the Santa role too?


Monday, November 04, 2013

Barbecued pork belly cooked in capsicum paste


I love a good make ahead recipe.  Especially when it's something that can be used for grilled dishes (like my version of chermoula chicken)  and when it takes me outside of my (Filipino) comfort zone - where the usual marinades consists of soy sauce, vinegar and garlic.  This one caught my eye from the get-go - the small photo in the October 2013 issue of The Sydney Magazine of Mark Jensen's barbecued pork spare ribs was enough to leave me drooling and craving for this dish!  And when that happens, off to kitchen I go.

Red capsicums are a plenty at my local green grocer and they're cheap as! Although they came in different sizes.  But size and shape does not matter that this was on our table for a weenight dinner. It helps that I only work 3 days a week and Mondays and Tuesdays are quiet days to ponder and domesticate myself while the kids are at school and hubby at work. So I prepared the paste a day ahead.


Vibrant red!  They're so pretty!


Oh. The. Smell!  It was divine!!

Now the hero of this dish is the capsicum paste.   You make it a day ahead and it keeps in the fridge for up to 2 weeks (according to the recipe). 


Ingredients:

125g of red capsicum, washed

2 heads garlic

2-3 pieces red chillis

salt and pepper

2 tablespoons extra virgin olive oil


Method

 Preheat oven to 220*C.  

Place capsicums and garlic on a baking tray and roast for 20-30 minutes or until the capsicum skins have blackened.  

Place a rack and leave to cool.

Peel the garlic skins off and place the flesh in the food processor.

Peel and seed the capsicums and add to the food processor with the chillies, salt and pepper.

Process to a smooth paste.

Spoon into sterilised jars and top with olive oil.

Keep in the fridge until ready to use. 


Poured into a sterilised jar and topped with olive oil!


On the ready - to brush onto the pork pieces!


To make the barbecued pork ribs or belly:

1.5 kg of pork belly, sliced 1/2 inch thick strips

Generously rub on pork pieces and leave to marinade in a glass bowl, covered with cling wrap in the fridge - minimum 1 hour (or up to 4 hours)

Heat the BBQ grill or pan-grill and cook away.

Chop into small bite size pieces.

Enjoy with some coriander for garnish.  Serve with a slice of lemon or lime.  Best eaten with lots of rice.


Tips:

* In the recipe, Mark suggested to place the roasted capsicums in a plastic bag for 15-20 minutes.  I guess this makes the skins peel off easily.

* The recipe called for julienned ginger and chilli slices for garnish.


Friday, June 14, 2013

Nutella crunch ice cream cake


That moment as a parent, when your kids turn into teenagers is when you try and pull the reigns a little.  An invisible one.  Tighten it up a little bit.  I guess its every bit exciting and daunting to have kids enter that phase.  You know when they start being independent, going out with friends without you.  There's that knot in my stomach everytime my teen is out with friends - at the movies, at the mall, at sleepovers.  There's always that unnecessary paranoia.  It gets animated, so I'm not going to have to tell you the details.  The ups and downs of understanding the hormonal changes in girl teens can be exhausting.  Its like a roller coaster ride.  One moment, high pitched and excited.  Then the next thing you know, there's some drama happening.  But then there are also those cuddles and hugs and kisses just because.  That's when I know she's still my baby.   


My daughter turned 16 recently.  A milestone number.  We hosted a sleepover party for 10 teen girls which can be listed in our "craziest things you've done" list.  Of course I lost some needed sleep that night.  More worried about our next door neighbour's sanity than mine, but we survived.  And here's a revelation. Girls eat as much as the next boy.  A bucket of KFC, mountains of chips and gravy and 2 large pizzas was dinner.  With breakfast, we made sure there's enough eggs and bacon for everyone.  Lunch onwards was a small backyard barbecue with close mates and family and friends.  A simple celebration that of course,  required cake.   She requested ice cream cake.  And this was a Pinterest-find.  And this was perfect - all her favourite things.  Nutella, rice bubbles and vanilla ice cream!  This recipe is adapted from A Family Feast.


Taken with my iPhone.  The photo's a bit blurry.  And the ice cream at melting point!

This is an easy cake to make.  Its got that crunch like a cookies and cream ice cream.  As it is winter in Sydney, the cake held itself up longer (20 minutes taken out of the fridge before slicing).  


To make this easy-peasy yummy ice cream cake:

3 litres vanilla ice cream

2 cups Nutella hazelnut spread

6 cups rice bubbles


Line one or two cookie sheets with baking paper.

In a large non stick skillet and on low heat, melt the Nutella then add the rice bubbles.

Mix thoroughly with a silicone spatula making sure all the rice bubbles are covered in Nutella.  

Spoon the Nutella rice bubbles onto the cookie sheet/s and spread evenly.  

Let it cool for 15 mintues at room temperature, then place in the freezer to chill further.


While the Nutella rice bubbles is cooling, bring your ice cream out from the freezer to thaw.  The ice cream needs to be soft, but not melting.

Prepare a 23 cm spring form cake pan/tin.  Spray the sides a little canola oil and line with baking paper.  This will make it easier to loosen the frozen cake from the tin when serving.

Once the Nutella rice bubbles have hardened (not frozen), use a knife and fork to separate them into small nuggets.

Using a large mixing bowl, place softened ice cream and mix with half of the chilled Nutella crunch. Use a spatula and mix thoroughly so that the Nutella crunch is evenly scattered within the ice cream.


Spoon the ice cream into your prepared pan, pack firmly and smooth the top with a spoon.

Scatter the remaining Nutella crunch on the top of the ice cream cake. Using the back of large spoon or spatula, smooth the crunch on top of the cake.

Freeze for 4-6 hours or overnight.

Take the ice cream from the freezer to thaw 10-15 minutes before serving.  Run a butter knife around the sides of the pan to loosen the cake.  Remove the sides of the pan then remove the baking paper.

Before serving, run the knife through hot water in the tap, then wipe dry with a kitchen towel.  Then slice into portions. 


Aah teenhood. It's always "Wow!" in all manner of emotions.  And we're only up to our oldest.  We still have our three younger ones to go through.   

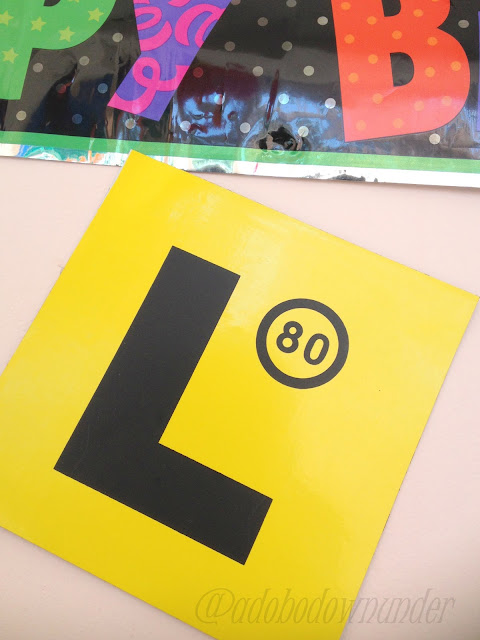
And now that she's 16, she declares she wants to take her L's.

Someone please pass me some wine.


Wednesday, May 08, 2013

Pork and chorizo sliders with jalapeno mayo


"Life is full of surprises and serendipity. Being open to unexpected turns in the road is an important part of success. If you try to plan every step, you may miss those wonderful twists and turns. Just find your next adventure - do it well, enjoy it and then, not now, think about what comes next." - Condoleezza Rice


Do you believe in fate?  Serendipity?  I do in most instances.  I mean there are small miracles that happen every day, I believe that.  I've experienced that. But serendipity are those little sometimes big, pleasant surprises that just happen.  Because of fate?  Maybe.  Luck?  Who knows.  But I do believe this.  That if you think something or visualise something so bad and pray for it, the forces of the universe will make it happen.  

Now maybe I'm a little naive about these things and believe too much in this crap, but truly I am amazed at how things turned out for someone I've connected with in IG.  We don't know each other personally, but she's contacted me a few weeks ago.  We had two things in common.  We're both Filipinos and into Instagram.  That's about it.  In the course of our email exchange, she mentions about looking for a job which I thought maybe, somehow I could help however way I can.  Working a few days at at government office and with limited connections myself I casually forwarded a job posting email which circulates around the office when positions fall vacant.  And from there,  a few weeks after that email exchange, it all turned quite magical.  Serendipty. A happy pleasant surprise!  She got the job which involves a project working closely with our branch!  I am amazed at how this all turned out.  Social networking does work!  And soon, I will get to meet her!


Not to mention through social networking, my eating and cooking adventures (and my family included) have evolved.    


Just looking at my Instagram feed, Pinterest, FB and reading other food bloggers' posts is always inspiring.  Recently though, I had some nostalgic kick craving and remembering a particular burger we loved to eat while hubby and me were still dating.  This was served at a small kiosk at the Greenbelt Plaza just outside the cinema.  This was during the early 90s but they disappeared later on during that decade. From what I've learned, they are now back with the same famous recipe for choriburger but with an entirely new look and logo.  


So here's a recipe inspired by an old favourite from back in Manila (Burger on the Run's Choriburger).  I was looking for Bun on the Run online and found a Pork and Chorizo burger by Emeril Lagasse's from the Food Network's Backyard Eats - which I found too complicated with so many spices so I made my own version.  We served this "for adults only" at that weekend birthday party.   The smell of the patties while cooking was so inviting, some of the kids kept coming into the kitchen and asking what's cooking.  "Sorry kids, this is for adults only."


Ingredients:

500g pork mince

3 fresh chorizo sausages, removed from casings

2 cloves garlic, finely chopped

1 onion, finely chopped

1/4 teaspoon paprika

1/4 teaspoon cajun pepper/seasoning

1 tablespoon corn flour (for binding)

salt and pepper for seasoning


Mix all the above ingredients by hand in a large bowl.  Shape into patties.  Set aside.

Using a pan griddle, or a simple pan, fry the patties in a little oil and cook until done.

To serve: thinly spread some jalapeno mayonnaise* on the rolls/buns, top with a pork-chorizo burger, some lettuce (add tomato slices and cucumbers if you prefer), and top with a good dollop of the jalapeno mayo*.  


*I wanted to make Emeril's green chilli mayonnaise but can't get poblano peppers at the time, so I made a simple Jalapeno mayonnaise.  Which was a mixture of 2 jalapeno peppers finely diced, mixed with a cup of mayonnaise. 


Tips:
  •  Buy your chorizo fresh from the butcher or deli.  The supermarket variety will work but will not be the same because they are slightly cooked.  You will need to remove the chorizo from the casings which will be difficult to do with the commercial variety;
  • You can make this as big as burgers or small as in for sliders (like this version);


Sometimes I think the fear of being vulnerable and taking a risk stops us from connecting with people.  Opening doors, in more ways than none, actually helps.  We create friendships and build little communities!   I love how blogging and social networks has helped me do this.  And taken my thirst for cooking and eating into new heights.


LinkWithin

Related Posts Plugin for WordPress, Blogger...