Welcome to adobo-down-under!

Musings. Family. Food. Stories. Cooking. Recipes. Eating. A recipe journal. From simple Filipino dishes to challenging recipes and exciting gastronomical failures. This is for my girls to look back on for comfort, memories, laughs, love and lots of food!
Showing posts with label tea. Show all posts

Friday, August 28, 2015

Lemon and sour cream cake with raspberries


I found a new hobby.  Colouring books!  If you haven’t already noticed, adult colouring books is the trend at the moment and publishing companies are selling them by the millions.  Marketed as therapeutic and anti-stress, colouring books for adults have become hip thanks to social media.  People who are into colouring books posts their creations on social media and it just creates the pull which is making the publishers very happy.


A standard page would take me from an hour to 3 hours, glued to the page instead of watching some TV series on Netflix or browsing on Facebook and Instagram.  While it may be my own form of digital detox, it does deliver its own spell of mindfulness and calmness claims.  Indulging in a new hobby, engrossed with colour pencils sliding across the page, sticking to the lines, mix matching colours onto patterns somehow gives me a sense of fulfillment as I create something visual and beautiful.  I started borrowing colour pencils from the girls, but now that I have my own set, I can colour to my heart’s content.


Although this does not replace my love for cooking, baking and writing, it does give me something to do while waiting for dinner to cook, or the cake to be warm and the cookies to cool.


How about you?  Have you started a new hobby lately?


Now to this cake that is a revisit from the archives.  A lemon yoghurt cake dressed with raspberries.  This is my go to cake recipe when I'm asked to bring a cake.  Why?  Because it's easy as A-B-C, 1-2-3.  No need for a mixer.  Just good ol' fork and little bit of elbow grease.


Ingredients

1 and 3/4 cups sugar

2 eggs

1/2 teaspoon salt

2-3 teaspoon lemon juice

grated rind of 2 lemons

3/4 cup light olive oil

1 cup sour cream

2 cups self-raising flour

1 cup (or more) fresh or frozen raspberries

Icing sugar for dusting (optional)


Method

Preheat oven to 180*C.  Line a round 20cm cake tin with baking paper.

In a mixing bowl, mix rind, oil, eggs and sugar with a fork.

Add remaining ingredients and combine well.

Add the raspberries and stir to distribute around the pan and some to sprinkle on top of the batter.
Pour into cake pans and bake at 180 degrees C for 30 minutes.

Leave to cool on a cooling rack, then turn out onto a plate.  

Dust with icing sugar (if using).


* You can use natural yoghurt or buttermilk as substitute for sour cream and the result will be the same.


Tuesday, September 30, 2014

Baked maple pears with toasted pistachios


No more whingeing around here of being too cold.  We have been blessed with warm air and clear blue skies.  And so I am catching up on some needed writing and blogging as it is the end of September, and we are halfway through to spring.  Spring cleaning at home and the backlog of recipes and photos to post.  

We have revamped our veggie garden as the seedlings planted in winter did not survive and to take the easier route, we bought some ready-to-plant veggies from the local nursery.  Hopefully, there will be some harvest of French beans, eggplants, strawberries, Habanero and birds eye chillies soon.  Our calamansi plant is finally showing some fruits after last year's drought.  This makes me very happy as any Filo would be.


And now catching up on some blog posts, this recipe is the easiest dessert there is that you can bring to any potluck party.  The idea to make this was initially to make it for a vegan at work who was retiring.  And I also brought this to a work birthday lunch and ever since, people have asked for the recipe and they have made it at home with spectacular results.   It's really easy.  I love easy dishes.  Those that you prep and then you just wait for the magic to happen.  Be it a slow braised on the stove, or a baked maple pear in the oven.  You prep it and you wait for an hour.


The recipe is adapted from an old cookbook from my shelves - Marie Clare Fresh + Fast Simply Delicious Healthy Food


To make these baked maple pears

Ingredients:

7 Corella pears, halved and cored*

3 tablespoons real maple syrup

2 tablespoons extra virgin olive oil*

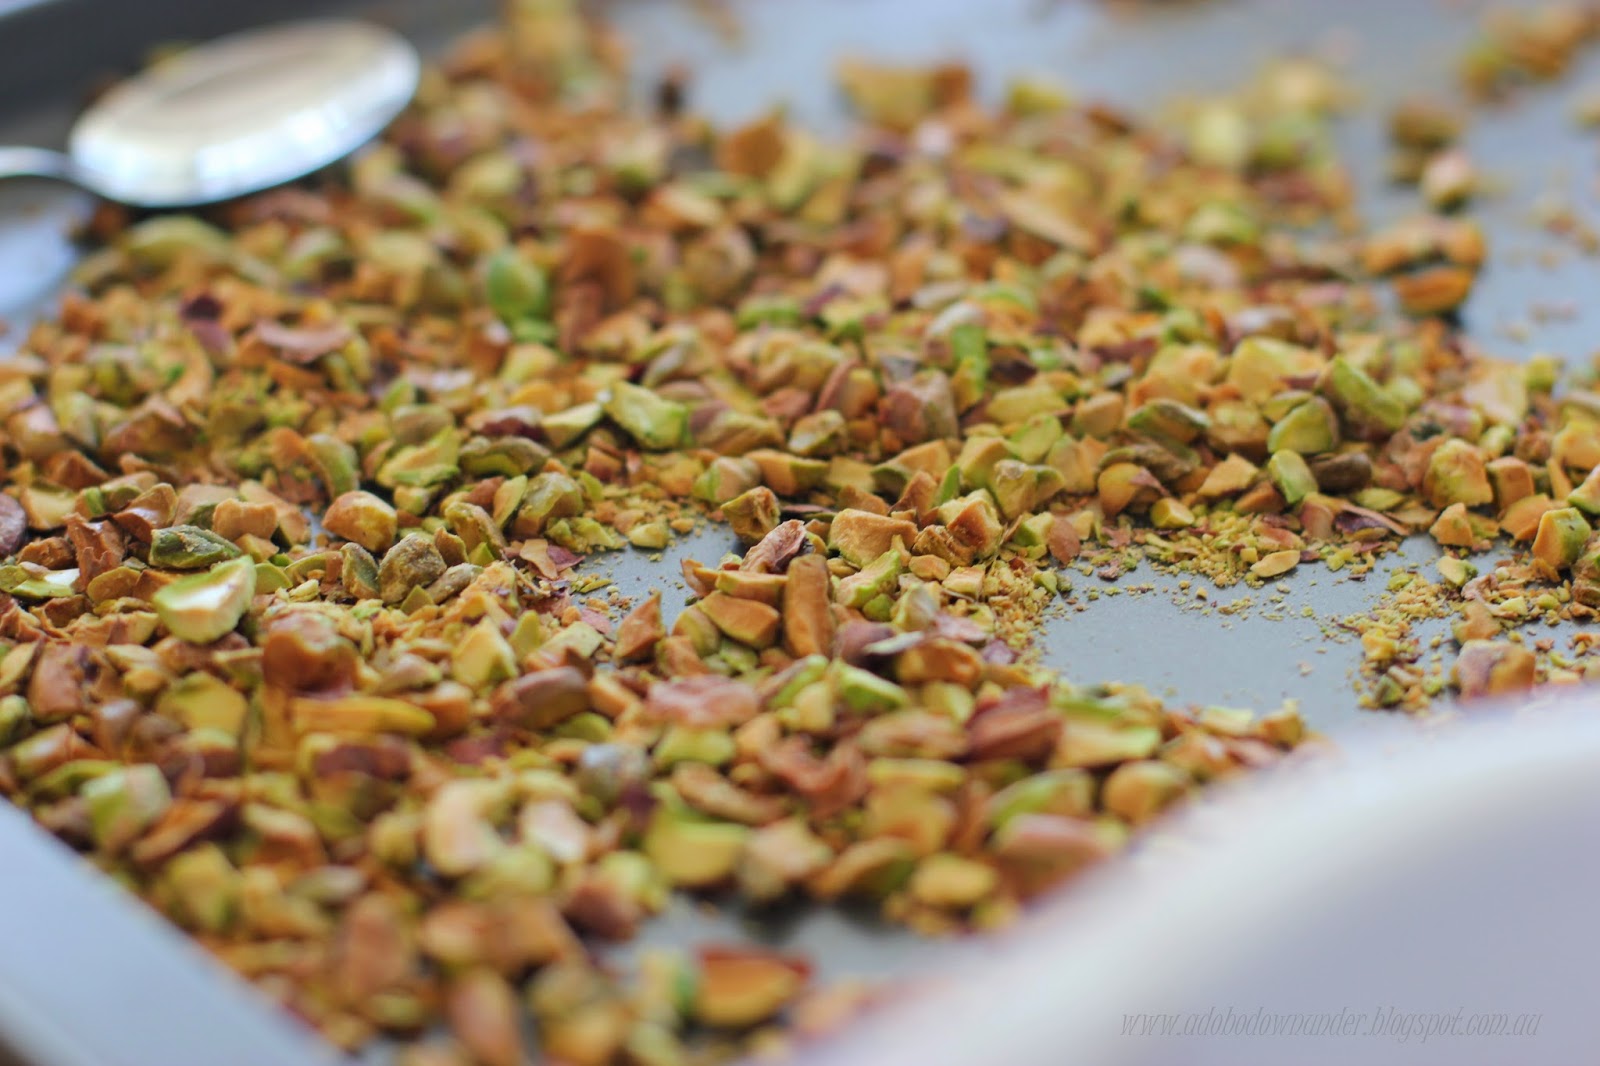
1 cup toasted pistachios, roughly chopped

1 cup creme fraiche or whipped cream


Method

Preheat oven to 180*C

Cut a thin slice from the skin side of the pears to give them a flat surface.

Place the pears onto a shallow baking dish, skin side down.

Drizzle olive oil and the maple syrup onto the pears.

Cover with aluminum foil and bake in the oven for 1 hour.

The pears should be tender when a butter knife inserted comes out smoothly.

Serve with the creme fraiche or thickened cream on the side, and the toasted pistachios.


Tips and tricks:

* The original recipe called for unsalted butter to rub on the pears.  I used olive oil as I brought it for someone who is vegan.

* You can use other pear varieties. Corella pears tend to be tougher than most so it cooks for an hour.  Other pear varieties are tender and may be baked for less than an hour.

* You can make as many or as little as you like, just adjust the maple syrup to your requirements.


Monday, August 18, 2014

Dilmah takes tea to the plate

Photo provided by Horizon Communications Group


It started in 2007 in Colombo Sri Lanka, with the goal of “putting tea back to high tea”, the Dilmah Real High Tea challenge initially included consumers to partake in the challenge when it was brought to Australia in 2011.


Now on its 5th year in Australia, the challenge now involves other countries: New Zealand, Macau, Thailand, UAE, Malaysia, and Hong Kong.  The 2014 challenge was opened to professional culinary teams to prepare and craft their own recipe in one or more of four categories, where each recipe must include a Dilmah tea in it.


The high profile judges included German born ACF Black Hat Chef Bernd Uber, Australian celebrity chef Peter Kuruvita, Dilmah’s own tea master Dilhan Fernando - son of Dilmah founder Merrill Fernando. 


Dilhan Fernando said it’s all about “taking tea to the plate”.  He mentioned that each year, the creativity is astounding and it is amazing to be around such a passionate teams and culinary artists.   Dilhan is the son of Dilmah founder and is the Director of the Dilmah School of Tea – the first international school of tea with sessions in Colombo Sri Lanka in partnership with the Institute Paul Bocuse in Ecully, France.    Aside from the family’s passion behind the Dilmah brand and tea, they are also passionate about environmental conservation and are involved in humanitarian projects in Sri Lanka. 


This year’s overall winner from Australia is Geoff Laws and Shaun Thompson of Qantas Lounge by Pullman, who will compete in Sri Lanka in 2015 against the world’s best culinary tea masters for the chance to be crowned Global Real High TeaChallenge champions.


Dilmah founder Mr. Merrill Fernando is excited at the progress tea has made in the culinary world.  He said, “tea is really much more that what initially meets the eye – not only is it soothing to drink, both hot and cold, but is also the most versatile herb to be used in the kitchen.  I am proud of the winners, their gastronomic ingenuity and their true respect of tea and the high tea tradition."


For more information about the Real High Tea Challenge and photos of the winners, please visit www.realhightea.dilmahtea.com


Photos were here are of "tea masterchef" winner - Bloodwood Restaurant Newtown.


Photo courtesy of Horizon Communications Group


Photo courtesy of Horizon Communications Group


Photo courtesy of Horizon Communications Group


Photo courtesy of Horizon Communications Group


Disclaimer: The writer attended this event as a guest invited by Horizon Communications Group. 


Monday, July 07, 2014

Cocoa brownies with sea salt flakes


Hooray us!  We celebrated our 9th year arriving in Australia last month.  It’s a significant occasion as I remember experiencing our first winter on arrival, armed with 3 2yos, an 8yo and 9 luggage’s packed full of what we wanted to hold on from the past and lots of hopes for the future.  We arrived full of fear, hope and excitement.  We haven’t looked back since. And to celebrate this milestone, of course there has to be cake.  Or maybe brownies this time.


This is a recipe adapted from Alice Medrich.  One of the icons in American desserts and chocolates, she is a cookbook author and well known for her chain of chocolate stores called Cocolat  chain of chocolate and dessert stores in the US (closed 1991).  I like her recipes because most of them are simple and straightforward, easy to follow.  There’s no fancy ingredients, just simple honest baking than any home baker can try. She shares her recipes on her website, and sometimes a few of them turn up via Food52.  Here’s one of them.


I especially like this cocoa brownies as it’s something I’ve never tried before.  Cocoa in brownies.  I’ve use chocolates in the past, a combination of both, but never just cocoa.  What’s interesting is that this can pass as decadent and as good as your chocolate-brownie varieties.  Sprinkled with some sea salt, it’s beyond indulgent.  It’s coined “Alice Medrich’s best cocoa brownies”.   I can’t argue with that.  


170 grams butter


1 ¼ cup caster sugar


¾ cup and 2 tablespoons unsweetened cocoa powder


¼ teaspoon salt


2 cold large eggs


½ cup plain flour


2/3 cup nuts or dried fruits (optional)


Sea salt flakes for sprinkling


Preheat oven to 180*C
 

Line a 20cm square brownie tin with baking paper.


Prepare a pot with simmering water.  In a heat proof bowl, combine the butter, sugar cocoa and salt, and place on top of the pot (works as a double-broiler).  


Stir the mixture with a spatula until the butter and sugar melts and the batter is smooth.


Set aside to warm. Don’t cool entirely.


Using a wooden spoon, stir in the vanilla.


Add the eggs one a time, stirring vigorously after each addition and the mixture becomes shiny. 


Stir in the flour and mix thoroughly.  (AM suggests 40 strokes with a wooden spoon or spatula).


Add nuts/fruits if using and stir through the mixture.


Pour into the prepared pan and spread evenly with the back of a spoon.


Bake in the preheated oven for 20-25 minutes, or until the skewer test comes out slightly moist.


Place on a cooling rack.


Enjoy.


Tips and tricks:
* I've made this with some frozen raspberries, roughly chopped and it made for extra moist brownies.


What’s so good about this recipe?  It’s a one-bowl wonder.  You don’t even need to plug in your stand mixer for this one.  You can even make this with your kids.  Or kids can make this themselves (with adult supervision).


Now go on help yourself.  Have a brownie.  Or two. 


Monday, June 30, 2014

Coconut tapioca pudding with red papaya


We have been back from a very brief trip to the Philippines and there’s nothing like a holiday to re-energize the senses.  Especially going back to one’s home country where the familiar is always welcomed, where family and friends are missed and food, oh so craved.


Papaya is one of those easily available year round back home and best eaten as is, usually with a squeeze of the local citrus (calamansi), or lemon/lime.  It’s one of those tropical fruits that I grew up eating and a favourite now at home by the girls.  We’re lucky that Australia has papaya grown locally now. Whatever the variety (red papaya, yellow or pawpaw), they are packed full of A vitamins, potassium and beta-carotene. 


For this quick and easy dessert, morning or afternoon tea, you’ll need:

1 cup small tapioca pearls

2 400ml can coconut milk

1.5 cup caster sugar

½ slice of red papaya, diced squeezed with the juice of half a lime

zest of half a lime

Toasted coconut (optional) for garnish, or drizzled with honey

Cook the tapioca pearls in 10 cups boiling water.  Once the pearls are slightly translucent (there is still a white dot in the middle), turn down heat to low and simmer until the tapioca pearls are cooked – they will be transparent.

Drain onto a strainer with cold water.  Set aside.

In  a pot, boil the coconut milk with sugar, until sugar has dissolved.

Add the cooked tapioca pearls and turn off heat.

These can be served as is, warm.

Or cool slightly, spoon onto small bowls or cups.  

Top with a some diced papaya, toasted coconut (if using) and some lime zest. 


Tips and tricks:
* Because the tapioca is starchy, draining the cooked pearls in cold water will removed some of that starch.  It will however help thicken the pudding, so don't over wash the pearls.


Disclaimer: This post is written as part of the Papaya Australia recipe challenge.  The papaya used in this post were provided by Papaya Australia. 
 

LinkWithin

Related Posts Plugin for WordPress, Blogger...